INSTALACEKroky
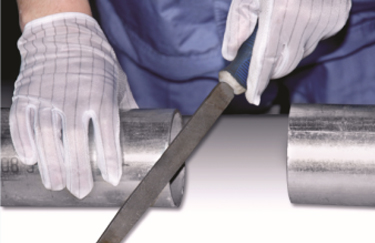
Deburr a odstraňte popel, prach a různé, udržujte dva konce potrubí řezané hladký povrch.
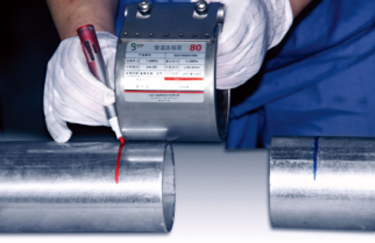
Najděte montážní linku a označte umístění konektoru vložení.
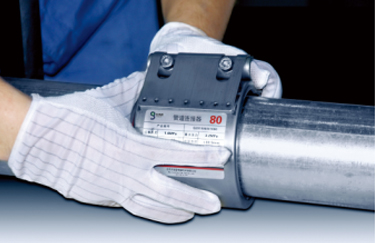
Nejprve položte spojku na pozici značky a nechte ji.
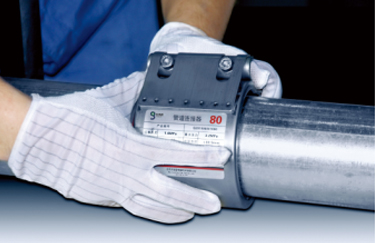
Vložte druhou trubku do spojky a zajistěte se v poloze značky.
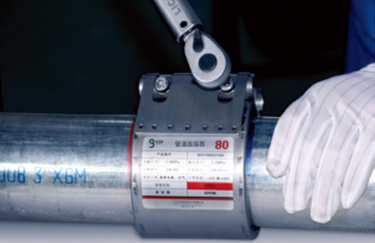
Střídání dvou šroubů střídavě zadaným klíčem točivého momentu
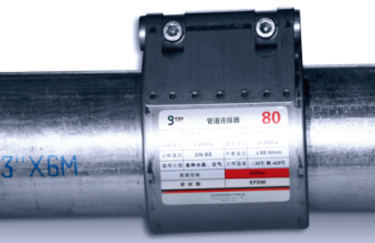
Hotový
INSTALACEPRŮVODCE
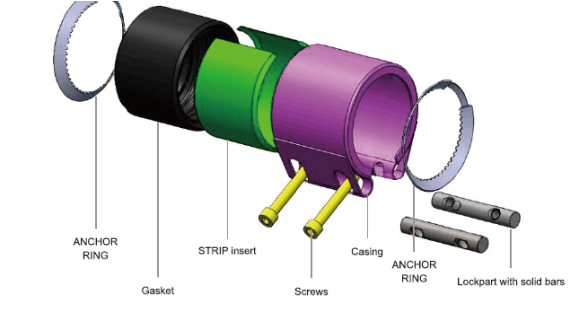
Neodpuřte spojku
● Udržujte spojku čistou
● Nezastavujte spojování
● Zkontrolujte spojku z hlediska úplnosti: Zkontrolujte kotevní kroužky na obou stranách, pokud používáte axiálně odolné spojky a pokud jste požádali o vakuový kroužek, zkontrolujte, zda je na místě
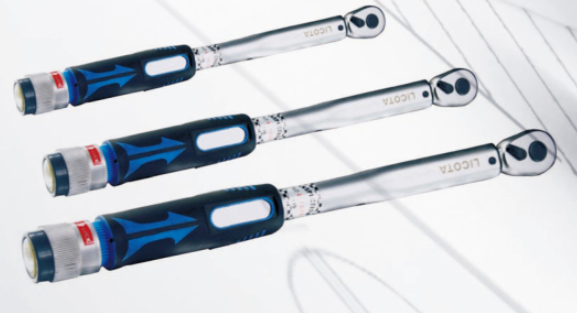
Točivý klíč
K zajištění úspěšného použití musí být při instalaci použit momentový klíč. Vyberte prosím správný klíč pro každý typy, jak je uvedeno na štítku. Spojení nevyžaduje žádnou údržbu a nesmí být utaženo po dosažení točivého momentu. Jakmile budou šrouby utaženy, doporučujeme označit spojku. Tím zajistíte, že vy a ostatní víte, že šrouby byly utaženy. Pokud si nejste jisti, zda byly šrouby již utaženy, uvolněte šrouby úplně a opakujte instalaci od nuly.

